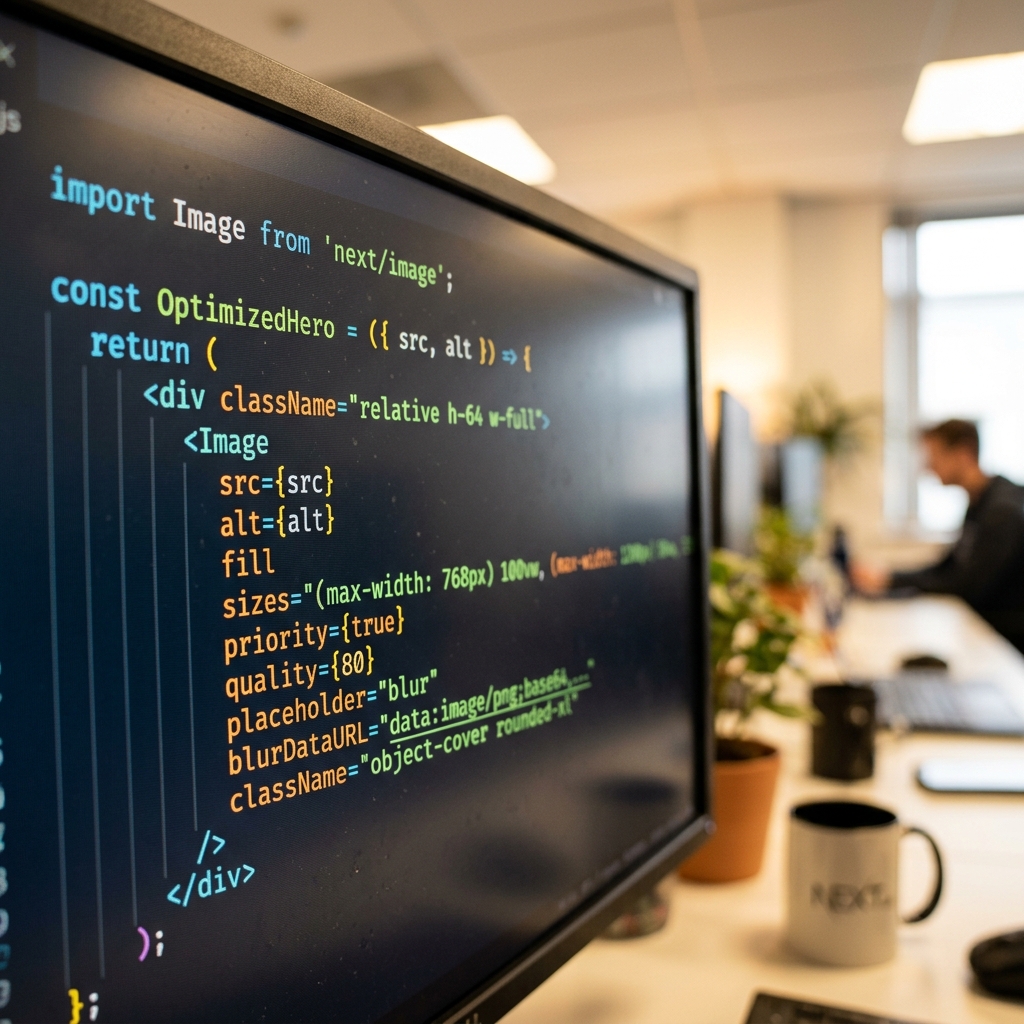
Why Next.js Image Optimization is Costing You More Than You Think (And How to Fix It)
The Next.js <Image> component is awesome for developers. But if you're deploying to Vercel, Netlify, or AWS, on-the-fly image optimization can lead to massive surprise bills. Here is how to keep your app fast without breaking the bank.
Golu
Lead Architect
July 8, 2026
Published
5 min
Read time
Topics
Table of Contents
Why Next.js Image Optimization is Costing You More Than You Think (And How to Fix It)
If you've built any Next.js app in the last few years, you've probably used the <Image> component.
And why wouldn't you? It’s practically magic. You import it from next/image, point it to a raw file, and it automatically handles resizing, modern format conversion (like WebP or AVIF), and lazy loading.
But there’s a catch. And if your site gets any decent amount of traffic, that catch can show up on your monthly hosting invoice.
Let's talk about the hidden cost of Next.js image optimization—and how to fix it without sacrificing the speed of your site.
The Hidden Mechanics of next/image
To understand the cost, you need to understand what Next.js is actually doing under the hood.
Unlike static build tools that optimize your images when you run npm run build, Next.js optimizes images dynamically on-the-fly.
When a user visits a page and requests a specific image size, Next.js calls a serverless function. That function downloads the original source image, runs it through a resizing and compression library (like Sharp), caches the result, and serves it to the browser.
This works beautifully, but it's highly resource-intensive.
If you are hosting on Vercel, their pricing model includes a specific quota for this:
- Hobby Tier: Limit of 1,000 source images optimized per month.
- Pro Tier: 5,000 source images optimized per month included. After that, it costs $5 per additional 1,000 images.
If you have a database of 2,000 products, and each product has 3 images, and you serve 4 different responsive widths for each... you can burn through your Pro limit in a single day. Many developers have woken up to hundreds of dollars in "overages" because of a simple blog rollout or traffic spike.
Takeaway #1: Next.js optimizes images dynamically using serverless compute. If you host on Vercel or similar platforms, you are billed directly for the compute time required to compress your assets.
Strategy 1: Pre-Optimize Your Static Assets
The absolute easiest way to slash your image optimization bill is to make sure your source files are already as small as possible.
If you commit a raw 4MB JPEG into your public/ folder, Vercel still has to download and process that 4MB file to create the optimized outputs. That takes compute time and resources.
But if you run your static assets (logos, background patterns, hero illustrations) through a local compressor like TinyImage before committing them, the source file shrinks to 200KB.
Vercel's serverless functions now have to process a file that is 90% smaller, reducing execution times, preventing timeouts, and saving you bandwidth costs.
Strategy 2: Leverage the Cloudflare CDN or Next-Export-Optimize
If you are running a static export site (output: 'export'), Next.js's default dynamic image optimizer won't work anyway.
Instead of switching back to standard <img> tags and losing all performance benefits, you can use community packages like next-image-export-optimizer. This tool optimizes your images during the build step on your local machine or CI server, outputting pre-rendered responsive images so you don't need any serverless dynamic functions at all.
Alternatively, if you're running a dynamic app, you can offload the entire image optimization pipeline to a CDN like Cloudflare or Imgix. By configuring a custom loader in next.config.js:
module.exports = {
  images: {
    loader: 'custom',
    loaderFile: './src/lib/image-loader.js',
  },
};
You can point Next.js to use Cloudflare Images or another dedicated media CDN. It bypasses Vercel’s compute pricing entirely, replacing it with CDN bandwidth pricing, which is orders of magnitude cheaper at scale.
Takeaway #2: Build-time image optimization or third-party image CDNs are drastically cheaper than dynamic serverless execution at scale.
Strategy 3: Tighten Your Device Sizes Config
By default, Next.js supports a wide range of device widths to accommodate everything from watches to ultra-wide screens.
In your next.config.js, the default deviceSizes array looks like this:
[640, 750, 828, 1080, 1200, 1920, 2048, 3840]
For every image, Next.js is prepared to generate up to 8 different variations depending on the viewport. If bots or scrapers crawl your site at random window resolutions, they can trigger generation of all 8 sizes, driving up your billing metric.
If you don't need that level of precision, trim your configuration to the bare essentials:
// next.config.js
module.exports = {
  images: {
    deviceSizes: [640, 1080, 1920],
    imageSizes: [16, 32, 48, 64, 96, 128, 256, 384],
  },
};
By cutting the number of active viewports down, you reduce the maximum number of file variations Next.js has to cache and optimize.
Summary Checklist for Next.js Developers
Before you ship your next update, protect your project from surprise bills:
- Compress all static assets in your
/publicfolder using TinyImage before committing. - Review your Vercel dashboard's "Usage" tab to monitor your Image Optimization metrics.
- Trim unnecessary resolutions out of your
deviceSizesconfig innext.config.js. - For static exports, use build-time build optimization scripts.
- Set
unoptimizedon images that don't need resizing (like small SVGs or vector logos).
Deploy Visual Excellence
Put what you've learned into practice with TinyImage.Online - the free, privacy-focused image compression tool that works entirely in your browser.
Boost Page Performance Beyond Images
Optimizing image assets is crucial, but speed starts at the server level. Swap to Hostinger for blazing-fast NVMe cloud server configurations that instantly decrease TTFB delays and elevate Core Web Vitals.
Master Web Performance & Core Web Vitals
Sign up to receive our weekly deep dives into speed optimization, Next.js setups, and SEO engineering secrets.